【完全版】スムーススクロールの実装は全てこれでいい【LazyLoad対応】
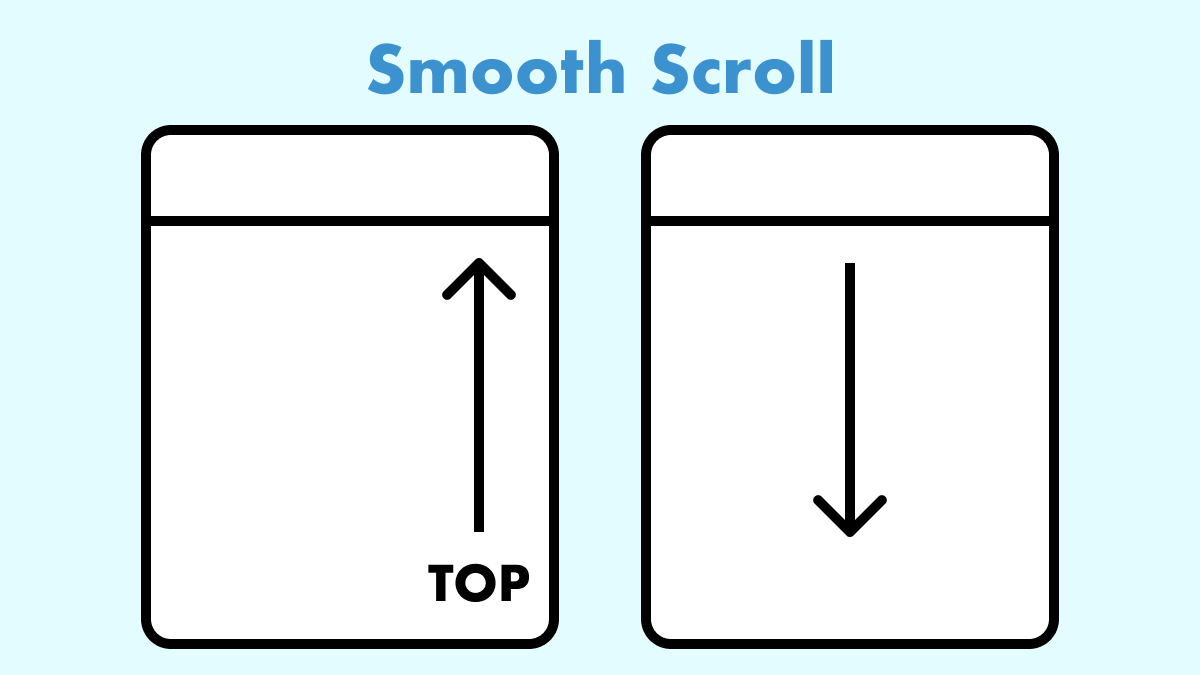
コードを見直し細かい箇所をリファクタリングしました。主要ブラウザ全てで動作確認済みです。
JavaScriptを使った、実用的なスムーススクロールの実装方法を詳しくご紹介します。
固定ヘッダーによる重なりや、遅延読み込みによる位置ずれへの対策も含まれているので、これ一つで多くのケースに対応可能です。
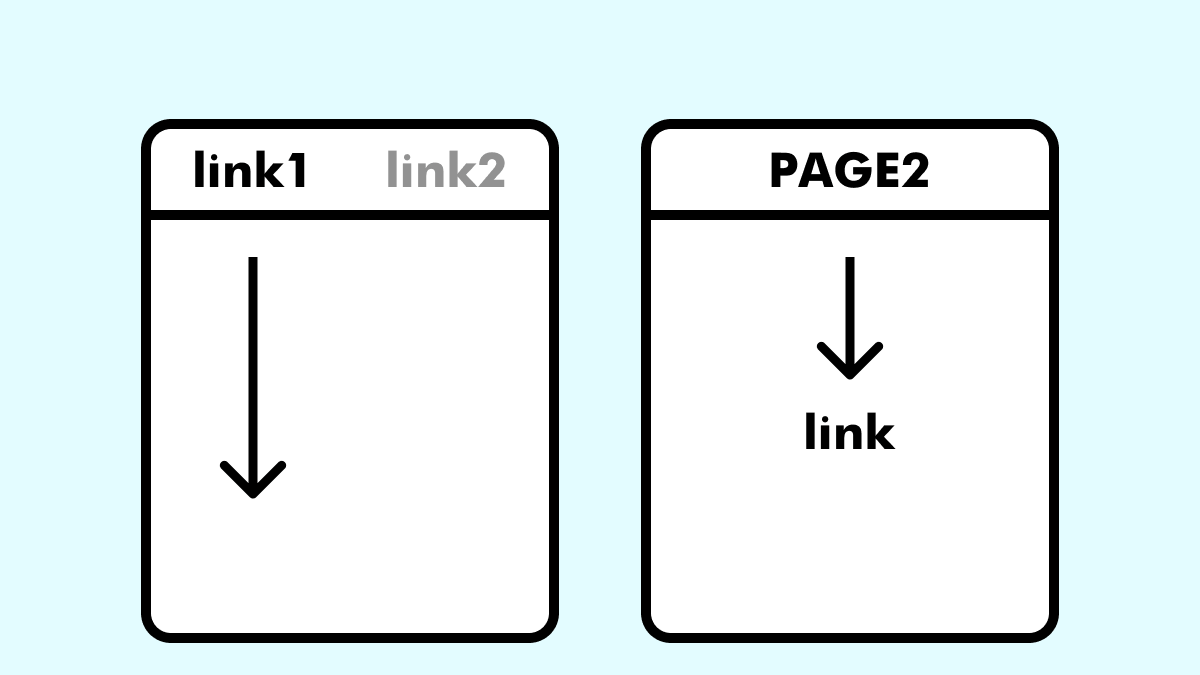
もちろん、ページ内リンクだけでなく、別ページから遷移した際のスクロールにも対応しています。
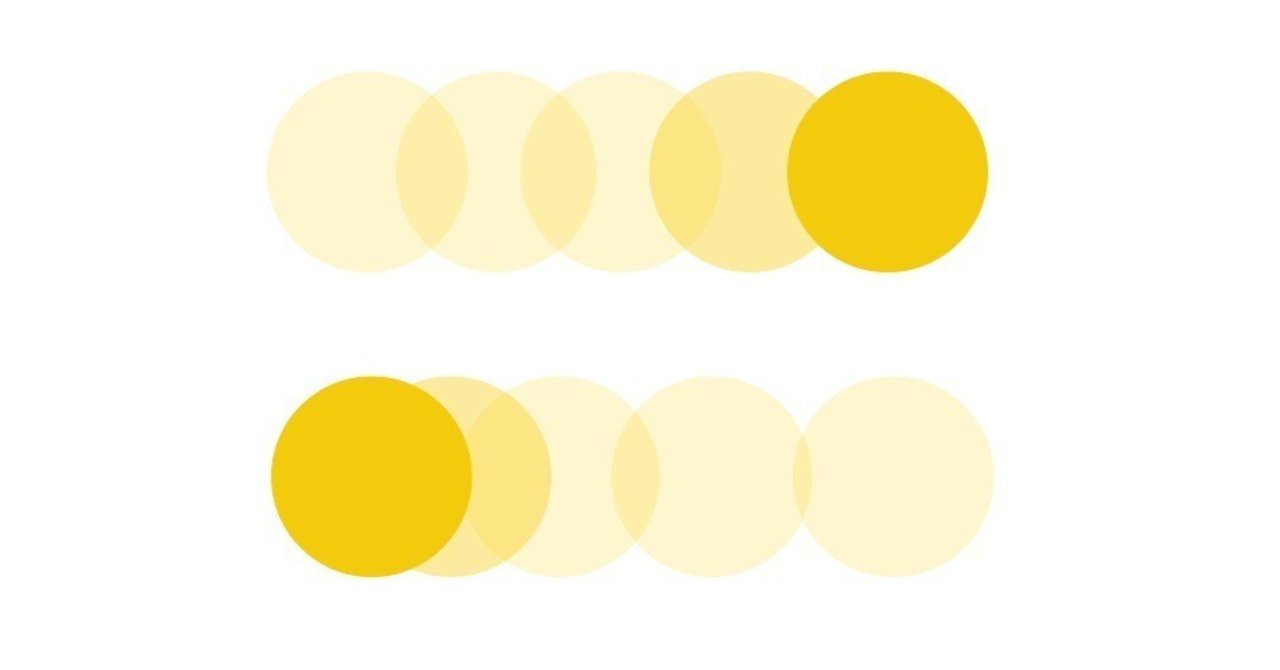
滑らかな操作感を重視し、イージングには「easeOutExpo」を採用しました。
ベースとなるコード
カスタマイズ前の標準的なスムーススクロールのコードです。(シンプルに実装したい場合はこちらでもOK)
// ヘッダー情報
const header = document.querySelector(".fixed-header");
const headerHeight = header ? header.offsetHeight + 20 : 0;

// ページ内のスムーススクロール
for (const link of document.querySelectorAll('a[href*="#"]')) {
  link.addEventListener('click', (e) => {
    const hash = e.currentTarget.hash;
    const target = document.getElementById(hash.slice(1));

    // ページトップへ("#"と"#top")
    if (!hash || hash === '#top') {
      e.preventDefault();
      window.scrollTo({
        top: 0,
        behavior: 'smooth',
      });

    // アンカーへ
    } else if (target) {
      e.preventDefault();
      const position = target.getBoundingClientRect().top + window.scrollY - headerHeight;
      window.scrollTo({
        top: position,
        behavior: "smooth",
      });

      // URLにハッシュを含める
      history.pushState(null, '', hash);
    }
  });
};

// 別ページ遷移後にスムーススクロール
const urlHash = window.location.hash;
if (urlHash) {
  const target = document.getElementById(urlHash.slice(1));
  if (target) {
    // ページトップから開始(ブラウザ差異を考慮して併用)
    history.replaceState(null, '', window.location.pathname);
    window.scrollTo(0, 0);

    window.addEventListener("load", () => {
      const position = target.getBoundingClientRect().top + window.scrollY - headerHeight;
      window.scrollTo({
        top: position,
        behavior: "smooth",
      });

      // ハッシュを再設定
      history.replaceState(null, '', window.location.pathname + urlHash);
    });
  }
}
jQuery版はこちら
完全版スムーススクロールのコード
こちらは、イージングの追加と遅延読み込みによる位置ずれを対策したものです。
// ヘッダー情報
const header = document.querySelector(".fixed-header");
const headerHeight = header ? header.offsetHeight + 20 : 0;

// イージング関数(easeOutExpo)
function scrollToPos(position) {
  const startPos = window.scrollY;
  const distance = Math.min(
    position - startPos,
    document.documentElement.scrollHeight - window.innerHeight - startPos
  );
  const duration = 800; // スクロールにかかる時間(ミリ秒)

  let startTime;

  function easeOutExpo(t, b, c, d) {
    return (c * (-Math.pow(2, (-10 * t) / d) + 1) * 1024) / 1023 + b;
  }

  function animation(currentTime) {
    if (startTime === undefined) {
      startTime = currentTime;
    }
    const timeElapsed = currentTime - startTime;
    const scrollPos = easeOutExpo(timeElapsed, startPos, distance, duration);
    window.scrollTo(0, scrollPos);
    if (timeElapsed < duration) {
      requestAnimationFrame(animation);
    } else {
      window.scrollTo(0, position);
    }
  }

  requestAnimationFrame(animation);
}

// 画像の強制読み込み
function loadImages() {
  const targets = document.querySelectorAll("[data-src]");
  for (const target of targets) {
    const dataSrc = target.getAttribute("data-src");
    const currentSrc = target.getAttribute("src");

    // data-src と src が異なる場合のみコピーする
    if (dataSrc !== currentSrc) {
      target.setAttribute("src", dataSrc);
    }
  }
}

// ページ内のスムーススクロール
for (const link of document.querySelectorAll('a[href*="#"]')) {
  link.addEventListener("click", (e) => {
    const hash = e.currentTarget.hash;
    const target = document.getElementById(hash.slice(1));

    // ページトップへ("#"と"#top")
    if (!hash || hash === "#top") {
      e.preventDefault();
      scrollToPos(0);

      // アンカーへ
    } else if (target) {
      e.preventDefault();
      loadImages();
      const position =
        target.getBoundingClientRect().top + window.scrollY - headerHeight;
      scrollToPos(position);

      // URLにハッシュを含める
      history.pushState(null, "", hash);
    }
  });
}

// 別ページ遷移後のスムーススクロール
const urlHash = window.location.hash;
if (urlHash) {
  const target = document.getElementById(urlHash.slice(1));
  if (target) {
    // ページトップから開始(ブラウザ差異を考慮して併用)
    history.replaceState(null, "", window.location.pathname);
    window.scrollTo(0, 0);

    loadImages();
    window.addEventListener("load", () => {
      const position =
        target.getBoundingClientRect().top + window.scrollY - headerHeight;
      scrollToPos(position);

      // ハッシュを再設定
      history.replaceState(null, "", window.location.pathname + urlHash);
    });
  }
}こちらを実装したデモサイトの「フッターメニュー」で動きを確認できます。
- ユーザー名:demo
- パスワード:demo
ヘッダー情報の解説
// ヘッダー情報
const header = document.querySelector(".fixed-header");
const headerHeight = header ? header.offsetHeight + 20 : 0;ヘッダーを固定させる場合は、ヘッダー要素にfixed-headerクラスを追加します。
このクラスがある場合は「ヘッダーの高さ+20px(任意のオフセット)」を代入、クラスがなければ「0」を代入して計算されます。
イージング関数の解説
// イージング関数(easeOutExpo)
function scrollToPos(position) {
  const startPos = window.scrollY;
  const distance = Math.min(position - startPos, document.documentElement.scrollHeight - window.innerHeight - startPos);
  const duration = 800; // スクロールにかかる時間(ミリ秒)

  let startTime;

  function easeOutExpo(t, b, c, d) {
    return c * (-Math.pow(2, -10 * t / d) + 1) * 1024 / 1023 + b;
  }

  function animation(currentTime) {
    if (startTime === undefined) {
      startTime = currentTime;
    }
    const timeElapsed = currentTime - startTime;
    const scrollPos = easeOutExpo(timeElapsed, startPos, distance, duration);
    window.scrollTo(0, scrollPos);
    if (timeElapsed < duration) {
      requestAnimationFrame(animation);
    } else {
      window.scrollTo(0, position);
    }
  }

  requestAnimationFrame(animation);
}イージングには、徐々に減速する動きが最も強いイーズアウト「easeOutExpo」を採用しました。
これは、指で弾いた瞬間が最も速く、摩擦で徐々に減速するといった物理法則を再現しており、スムーススクロールに最適です。
このメリハリのある動きにより、自己帰属感(操作の感覚)が向上します。
参考にした記事
イージングを変更したい場合は、ChatGPTに頼るなどして、以下の2箇編集する必要があります。
function easeOutExpo(t, b, c, d) {
  return c * (-Math.pow(2, -10 * t / d) + 1) * 1024 / 1023 + b;
}
↓
function easeOutQuart(t, b, c, d) {
  return -c * ((t = t / d - 1) * t * t * t - 1) + b;
}

const scrollPos = easeOutExpo( // ...
↓
const scrollPos = easeOutQuart( // ...
スクロールの最大距離を制限
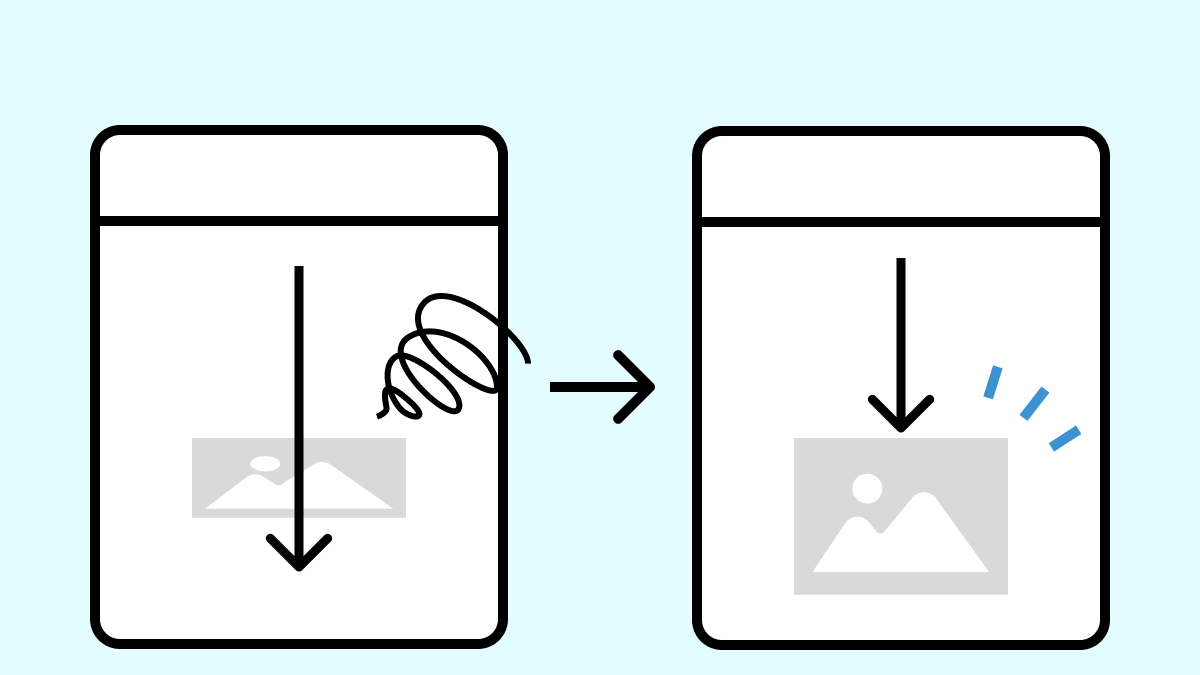
const distance = Math.min(position - startPos, document.documentElement.scrollHeight - window.innerHeight - startPos);スクロール先のターゲットが画面の高さより小さい場合、最終地点まで滑らかなアニメーションが行われなくなることがあります。
どういった状況かというと、以下のサンプルでfooterをクリックしたときのぶつかるような動作です。
See the Pen ページ下部のセクションが低い場合のスクロール挙動 by hisa (@hisaaashi) on CodePen.
これは、ページの長さが足りないため、footer要素がヘッダー付近までスクロールすることができず、強制的にストップされているという状況です。
その対策として、min()関数を使い「ターゲットまでの距離」と「ページの残りの距離」の小さい方を最大距離とすることで解決しました。
誤差によるズレを修正
if (timeElapsed < duration) {
  requestAnimationFrame(animation);
} else {
  window.scrollTo(0, position); // スクロール位置がずれないように修正
}
イージングの計算式の誤差で、スクロール中に数ピクセルのズレが生じてしまう場合があるため、最終位置に到達させるための再スクロール処理を追加しています。
イージング関数の使い方
デフォルトでよく使われているコードを、以下のように置き換えることでイージングを使用することができます。
// 通常のスクロール
window.scrollTo({
  top: position,
  behavior: "smooth",
});

↓

// イージングによるスクロール
scrollToPos(position);
画像の強制読み込みの解説
このコードは、JavaScriptライブラリによって遅延を行っている場合に有効です。
以下のコードは、data-src属性に格納されている画像のURLをsrc属性にコピーして、ダミー画像から本来の画像に置き換えるシンプルな処理です。
// 画像の強制読み込み
function loadImages() {
  // data-srcを変数に格納
  const targets = document.querySelectorAll("[data-src]");
  // 全てのdata-srcを取得
  for (const target of targets) {
    const dataSrc = target.getAttribute("data-src");
    const currentSrc = target.getAttribute("src");

    // data-src と src が異なる場合のみコピーする
    if (dataSrc !== currentSrc) {
      target.setAttribute("src", dataSrc);
    }
  }
}

// 実行するタイミングで以下を記述
loadImages();
この関数をスクロールする前に実行すれば、画像が読み込まれ正しい位置の計算できるという理屈です。
使用するライブラリによっては属性がdata-srcではない場合もあるので、属性名をライブラリの仕様に合わせて変更するか、以下の記事を参考にカスタマイズしてください。
ページ内のスムーススクロールの解説
// ページ内のスムーススクロール
for (const link of document.querySelectorAll('a[href*="#"]')) {
  // ハッシュを含むaタグをクリックした時の処理
  link.addEventListener('click', (e) => {
    // ハッシュを取得
    const hash = e.currentTarget.hash;
    // スクロール先を取得
    const target = document.getElementById(hash.slice(1));

    // ページトップへ("#"と"#top")
    if (!hash || hash === '#top') {
      // デフォルトの動作をキャンセル
      e.preventDefault();
      // スクロール開始
      scrollToPos(0);

    // アンカーへ
    } else if (target) {
      // デフォルトの動作をキャンセル
      e.preventDefault();
      // 画像の強制読み込み
      loadImages();
      // スクロール先の位置を計算(ヘッダーの高さを引く)
      const position = target.getBoundingClientRect().top + window.scrollY - headerHeight;
      // スクロール実行
      scrollToPos(position);

      // URLにハッシュを含める
      history.pushState(null, '', hash);
    }
  });
};
コメント通りなので、割愛。
別ページ遷移後のスムーススクロールの解説
// 別ページ遷移後のスムーススクロール
// ハッシュを取得
const urlHash = window.location.hash;
// ハッシュが存在する時
if (urlHash) {
  // スクロール先を取得
  const target = document.getElementById(urlHash.slice(1));
  // スクロール先が存在する時
  if (target) {
    // ページトップから開始(ブラウザ差異を考慮して併用)
    history.replaceState(null, '', window.location.pathname); // ハッシュを削除
    window.scrollTo(0, 0); // ページトップへジャンプ

    // 画像の強制読み込み
    loadImages();
    // ページを読み込んで処理
    window.addEventListener("load", () => {
      // スクロール先の位置を計算(ヘッダーの高さを引く)
      const position = target.getBoundingClientRect().top + window.scrollY - headerHeight;
      // スクロール実行
      scrollToPos(position);

      // ハッシュを再設定
      history.replaceState(null, '', window.location.pathname + urlHash);
    });
  }
}
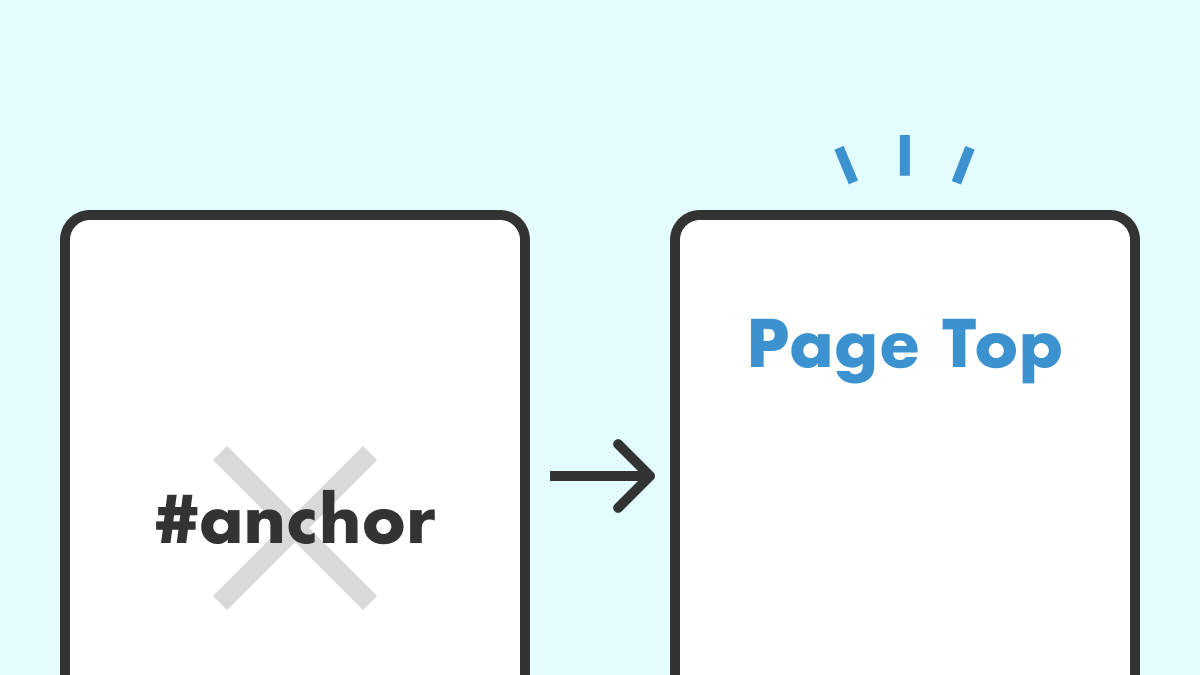
このコードの中でのポイントは、ページトップからスクロールさせるための処理です。
// ページトップから開始(ブラウザ差異を考慮して併用)
history.replaceState(null, '', window.location.pathname); // ハッシュを削除
window.scrollTo(0, 0); // ページトップへジャンプ- URLのハッシュ(#以下の部分)を削除して、アンカーリンクが自動で動作するのを防ぐ。
- ページの一番上に強制的にスクロールさせる。
ブラウザによってどちらかが効かず挙動が異なるため、2種類のアプローチを併用しました。
ページトップからのスクロールが不要な場合は、このコードを削除してください。
まとめ:実装は全部入りで解決
以上、完全版スムーススクロールのコードのご紹介でした。
イージングや秒数など好みがあるかと思いますので、必要に応じてカスタマイズしてください。
カスタマイズに困ったらお気軽にご相談を!
- 「ちょっとしたCSSの調整だけお願いしたい」
- 「不具合を直してほしい」
料金は3,000円〜、お支払いは銀行振込・Amazonギフトカードなど柔軟に対応してます🤔
お気軽にコメントどうぞ